Qforecast Reduces your Planning and Reporting Efforts
Qforecast product allows flexibility to define dynamic model process templates of Corporate Performance Management for any company to consolidate financial data, planning, forecasting, and budgeting in a secured, collaborative, centralized, and scalable way. It allows creating of the number of model templates required for each department as per their processes and setting up the new CPM process within a few minutes.

How to Use Qforecast
Qforecast product provides four steps process to define the new CPM process.
In the infographic image, replace the Qforecast logo with the preferred logo.
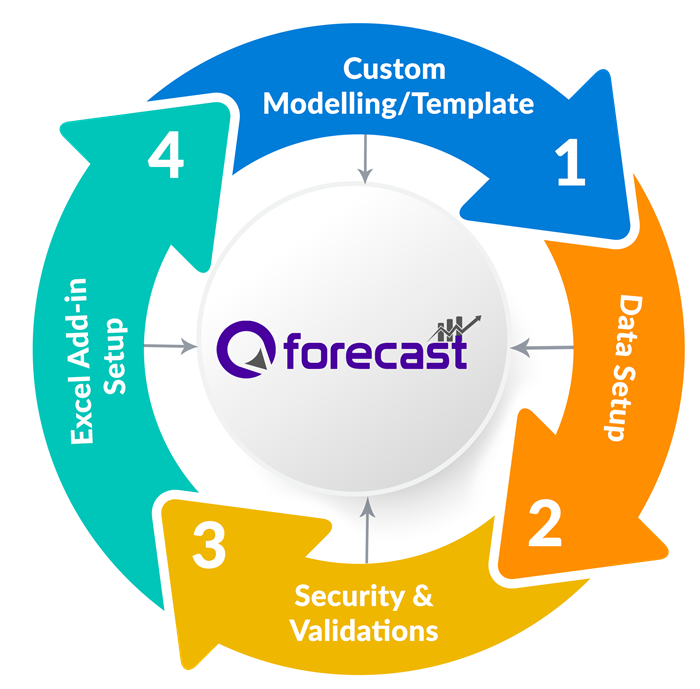

Custom Modelling/Template
This is the first step in which the user will be able to create a Model/Template as per their Business Financial Process.
The user is given the feasibility to define the Filters and Granularity items for their Business Process.
Once this step is completed, the Database will be created and ready for the user to access in other steps.
Data Setup
In the above step, once the Model / Template is created, the user can use this step to import the data to the database using the CSV file within a minute.
This step gives the feasibility to the user to download a CSV file with the pre-defined header that gives the user a better understanding of what data to import into the database.
The user is given another feasibility to validate the data to avoid errors, which helps him/her reduce the risk of inserting duplicate data.


Security
For providing security to the different users, one needs to create/add users and user roles based on the business requirement.
Once the users are created, then using the security you can provide various levels of access to different users based on the requirement.
Without giving access user will not be able to access any data.
Validations
User can create different validations that he/she wants for the created template. Some of the validations that our tool supports are Min, Max, Variance Percent, Variance Value, Start Date & End Date.
Based on the selected validations for the template, those validations are applied to the Excel Add-In while performing the upload operations.


Excel Add-in Setup
This is the last step in the process, once all the above steps are completed. The user will be given a setup to Install Excel Add-in.
Once the Setup is installed in the user's Machine.
The user will be able to work with the Installed Add-in using Microsoft Excel.
Comparison of Multiple Templates
Qforecast allows you to compare one template with the other to verify the analytics and to set a variance value to highlight the data beyond that value.